Greetings, ladies and gents. I've been inactive due to my incapacity to take screenshots during class. We all have flaws. I've learned quite a bit since my previous post, mostly in manipulating lighting, daylighting, materials and orientation according to climate.
On to my progress for Project 2 transitioning from beginning to end. Yes, I've finished finally.

Started by modifying the layers in my SketchUp model. This is because previously I had problems applying materials to my imported SketchUp model in 3ds max due to the model being one entire layer.

The new imported SketchUp models. Colourful like a pretty little butterfly. I used flamboyant colours so that the layer differences were prominent. This made it easier for me to add materials and identify the layers from afar when adding these materials.

I also added a base for the model. I intended to use a grassy base because The Rolling Huts is based in a forest terrain, surrounded by lush trees for the most part. The result will be shown later on in this post.

An alternate view of my model. This was the view I always referred to after modifications here and there as a personal comparison.
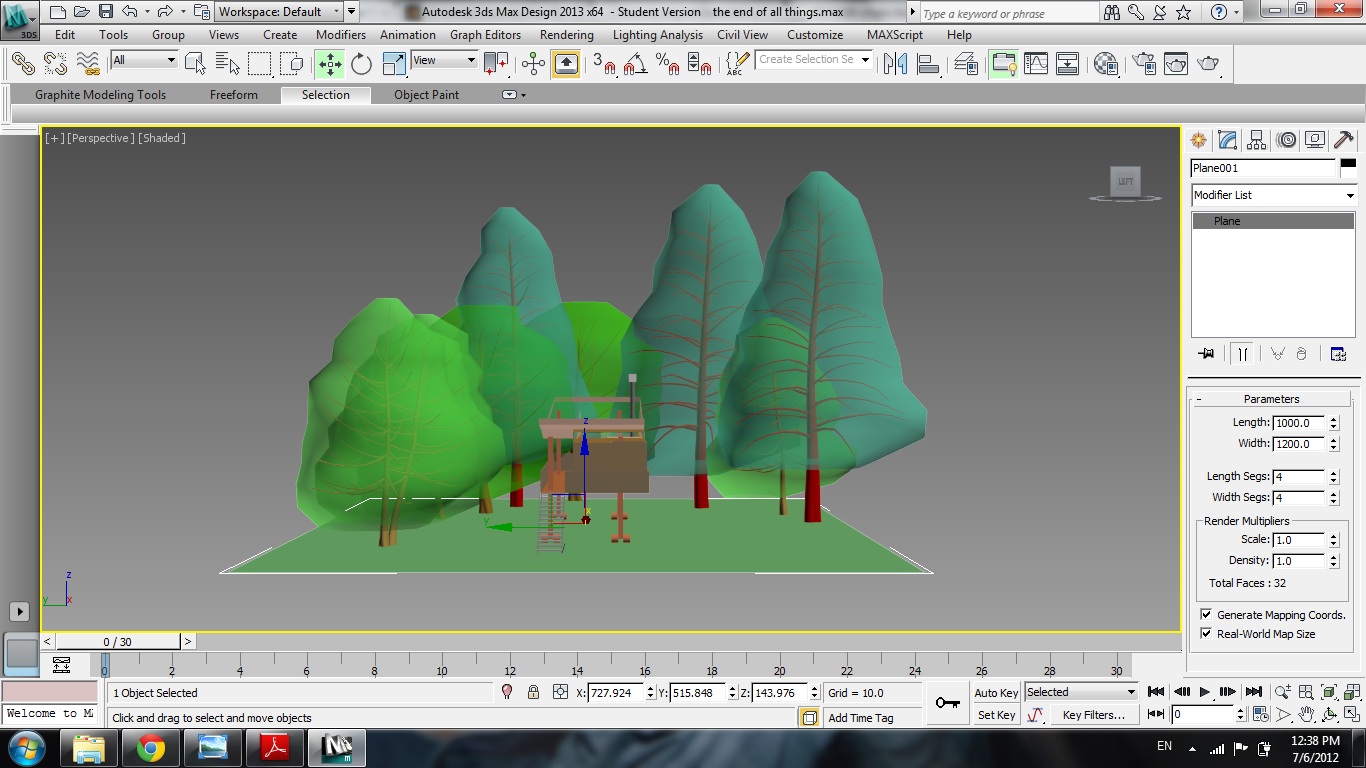
After I was satisfied with the modifications and base, I decided to skip materials first. I proceeded to planting the trees around my model to help create the "foresty" feeling of its surroundings. I was satisfied with the result. Above is an image simulation.

After adding the trees, I then started to add materials to all the objects in my model as seen above. For the most part, I found the materials on offer in the 3DS Max software to be satisfactory.

With the materials added, the next step was to add interior elements to my model. I sourced various websites to find suitable interior decorations and models that fit with images of the actual building I found, with my own minor modifications...

... such as this plate of gingerbread men and doughnuts.

After I was satisfied with my interior, I moved on to the daylighting. For my renders, I decided to go with a more subdued, morning daylight. Thus, I changed my background colour from the dull default grey to a mellow blue using the daylight function in rendering. Results will be seen later. I also added daylight in the form of sunlight. I set the timing using the options provided to 9.30am on 3/5 of my final renders. The above image shows the sunlight direction used.

One of the main aspects of Project 2 was to manipulate camera views using 3DS Max. That is what I have done using prior knowledge learned in class over the past few weeks. I selected the 3 most interesting views I could find and wanted to portray in rendered form as seen in the picture above. The other 2 renders were taken from perspective shots.

.jpg)
The two pictures above are examples of my final renders in 3DS Max.

After that, I proceeded to post-editing using Adobe Photoshop CS5. I manipulated the lighting curves, added human figures and edited them using Motion Blur to make them more realistic. Finally, I added my name and student ID, ready to be printed and submitted :o)
VOILA!


The five pictures above are my final products from this entire process. Hope you like it ;D
PS: I forgot to mention I added Batman's Tumbler from the Nolan Universe. Because, well I like Batman.
Live long and prosper.
No comments:
Post a Comment