Sunday 13 May 2012

Spot the Prime Minister

A week after the submission for Project 1, we returned to classes as usual.
For this Com Apps class (11th May 2012), we were introduced to 2 new features of 3DS Max.

Firstly, we learned how to manipulate daylighting. We learned to create focus points of sunlight and how to manipulate its angle and direction by changing locations that are remotely stored in 3DS Max's database.

Below are the results of the daylighting practice:


Spot the Najib.


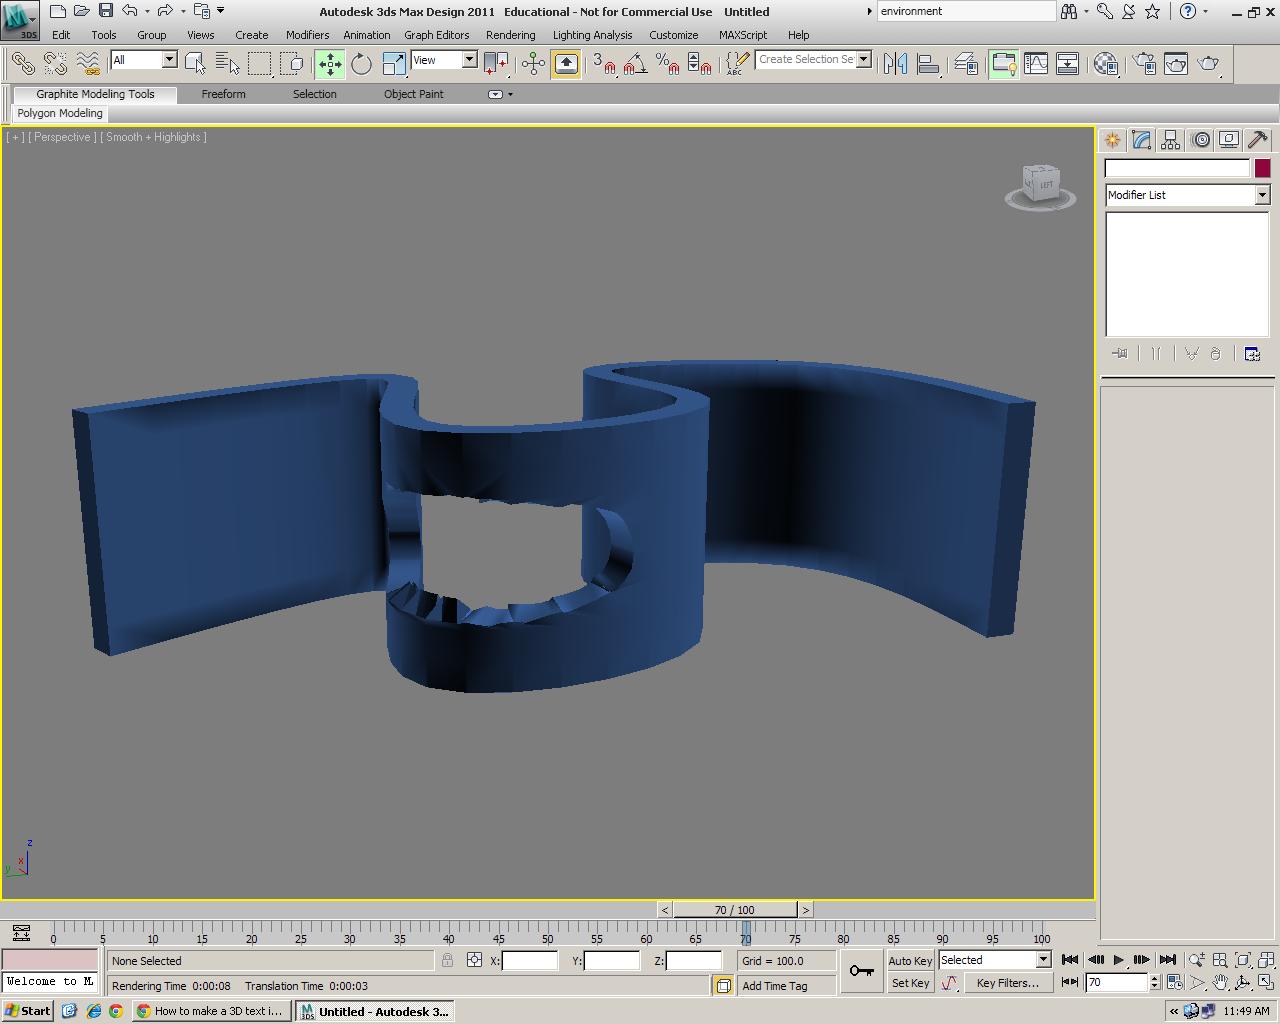
Moving on, the second part of the class focused on playing with NURBS curves. NURBS curves are used to make curved walls, holes in curved walls and Frank Gehry-esque buildings.

Below are the results of that practice:


Oh and this is something else I did after finding out how to create 3D letters:


Good-bai.

Thursday 3 May 2012

Project 1 Submission (WIP) Pt. 2

Managed to find technical drawings for my building online!

I then proceeded to tracing them out using AutoCAD. It had been a while since I touched AutoCAD so it was nice to be refreshed. Progress.

The drawings I found online and the corresponding AutoCAD drawings. Quite painstaking.


Later on I tried to use Mr. Angus' method as he thought in the import CAD drawing/house modelling class but I could not remember the steps. Also, I installed the 2012 version of 3ds max. The controls there from the ones in the computer lab are different and I found it difficult to find certain functions. Therefore, I uninstalled 2012 and installed 2010.

I still could not quite get the hang of the extruding function, need more practice.

Because of that, I moved to SketchUp.


This is the first time I've ever used SketchUp. I'm amazed at its simplicity. 

The above images are where I am at right now. I extruded the walls and most of the interior.

The things I have left to do are:

1) Edit the stairs
2) Finish the roof
3) Finish railing
4) Material rendering
5) Context rendering.

No sleep tonight.


Project 1 Submission (WIP) Pt. 1

Since I'm on a roll, may as well continue with this blog while I take a break from my project 1 work.
So I started out by searching for nice huts with modern designs and relatively modern concepts and here's what I've found :


Building Name: Rolling Huts
Architect:  OSKA Architects (Olson Sundberg Kundig Allen Architects)
Concept: Seclusive Nature Retreat

Building Information:
Rolling Huts is located in Washington’s Methow Valley. It was designed as a modern alternative to camping by Tom Kundig of  in Seattle, the six huts are grouped as a herd, each with views of the mountains. The construction of each hut is simple. It is, in essence, an offset, steel clad box on a steel and wood platform. Living occurs not only in the 200 sq ft inside the box, but on the 240 sq ft of covered deck space surrounding it. Interior finishes are cork and plywood which are simple, inexpensive, and left as raw as possible. Exteriors are durable, no-maintenance materials, namely steel, plywood and car-decking.

Source: http://cubeme.com/blog/2009/07/09/rolling-huts-by-oska-architects


The House That Wasn't There

Lesson number two:

Learning how to import CAD files into 3DS Max whilst also learning to extrude walls and windows using the extrude function. I learned how to rotate plans and elevations and place them accordingly using the snap function. More basic knowledge was learned but I felt like I was not completely up to speed.

I had little to no problems generating the complete model for the house but the same problem arose. I could not remember the steps well 20 minutes later. It was quite frustrating really. While some people had already progressed to rendering the house/using lighting and such, I was still trying to retrace my steps.

I need a foolproof way of remembering my steps during the lessons. Writing them down will not work, there has to be some way of absorbing the info while practising, there was no problem with doing so for AutoCAD, so why is there a problem with this?

Wow. So I tried opening the .3ds file which had my attempt at the house and now it's not opening. Just my luck.

I've uploaded it here: http://www.sendspace.com/file/n4gmqg

Just in case it's my laptop that's messed up and hopefully Mr. Koh and Mr. Angus take the time to try and open it. Thanks.


Jesus & The 3D Vase

Now be forewarned, I came into Semester 3 with no prior knowledge on SketchUp, 3DS Max or this Rhino thing Mr. Angus keeps talking about. I'm starting fresh here, so please bare with the less than pretty results I've conjured up so far.
Hopefully, with more tutoring over the semester, things will get better. After all, this is ' Work In Progress ' :)

Right then.

First up, we have the 3D Vase. Made this in the computer lab during my first CA2 lesson. It was quite amusing, pretty good exposure to 3DS basic functions but sadly it is very, very hard to remember everything step-by-step all at once. It was quite overwhelming in all seriousness.

Played around with the vase size, and had introduction to material rendering.
Below are the results of the lesson:

The initial vase solidified using polygon modelling.

First attempt at light & shadow manipulation.

The final product that I was satisfied with. As for the material used for the vase, I used Jesus.

More to follow...

Cheers.

The late welcome note.

Greetings, lecturers/tutors/whoever else that looks at this.

First of all, I'd like to apologize for the inactivity on this 'work in progress' blog. I have either always been caught up with other work or other non-uni related activities hence this blog has become a victim of my procrastination.

Anyways, on with my work that I've done at various times over the past month.